As the cold weather starts to wane and you blow the dust off your spring sneaker rotation, you may realise that those midsoles on your Air Force 1s that you copped in 2016 are not standing a chance.
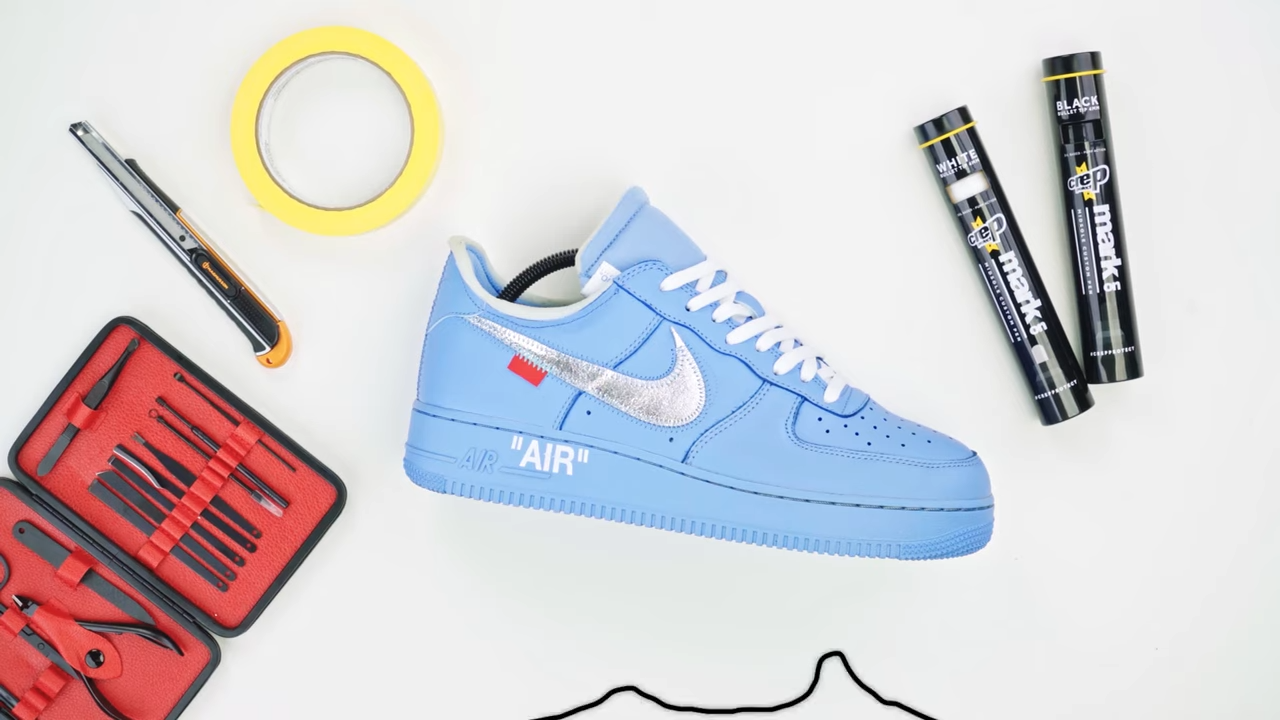
Now if you are anything like us and refuse to pay over 100 bucks for AF1s, then why not give your sneaks the DIY treatment? Luckily for you, there’s no need to count your wishes as our Crep Protect Mark-On Pen does the trick - restoring and customizing any sneaker to give them a new life.
 At Crep, we believe we can salvage any great shoe as well as saving you some money in the process. To prove the magic behind the paint pen, we’re going to show how to customise the midsoles of AF1s - using the Off-White MCAs as an example.
Before we dive straight into the tutorial, let’s look at some of your most frequently asked questions:
How many coats of the Mark On Pen do I have to use to restore my midsoles?
Typically, we recommend applying two coats of the Mark On Pen to achieve the best results. Make sure you allow 15 minutes for the first layer to try before adding the second layer.
What colours does the Mark On Pen come in?
Our Mark On Pen comes available in two color options: Black or White.
Will the paint flake off over time?
Our Mark On Pens are highly durable, long-lasting and available in water and oil-based options. For longevity, the oil-based pen will be a more suitable choice to reduce flaking over time.
Let’s get started!
Step 1: Mask It Up
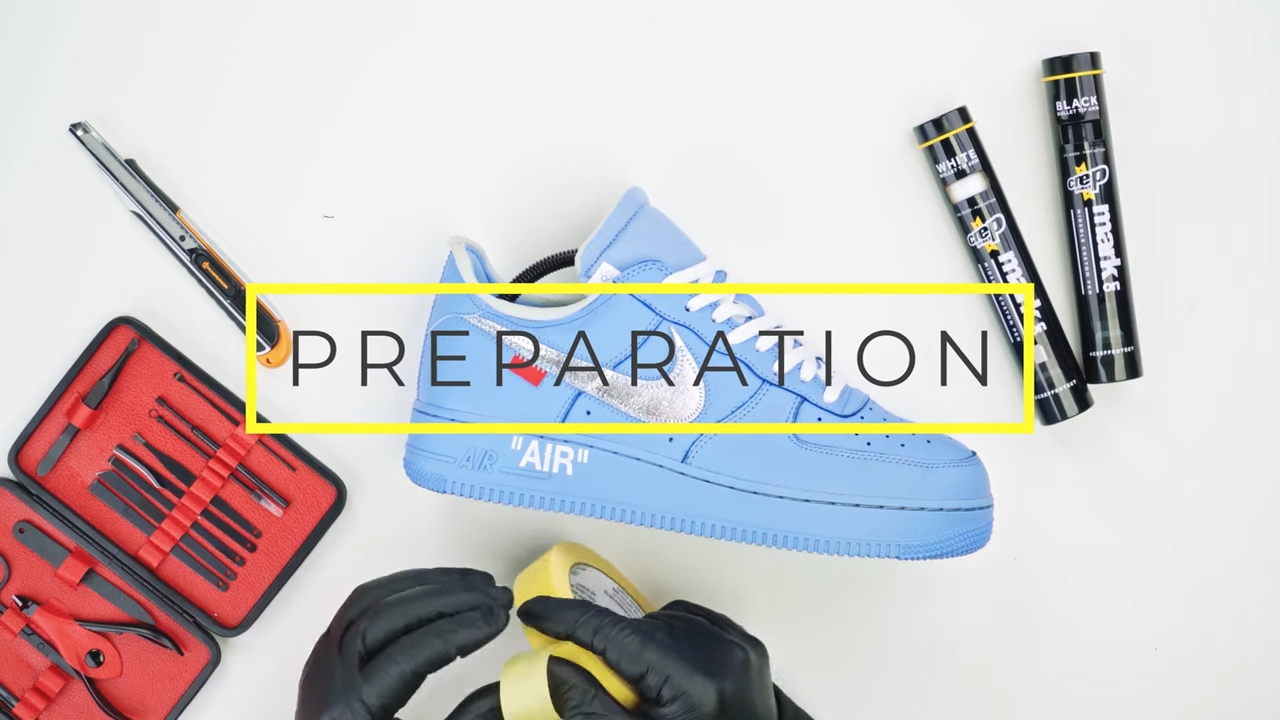
Before you start the painting process, apply some masking tape around the perimeter of your AF1s ensuring that anything that you don’t want to get paint on is fully covered up.
Step 2. Give it a Shake
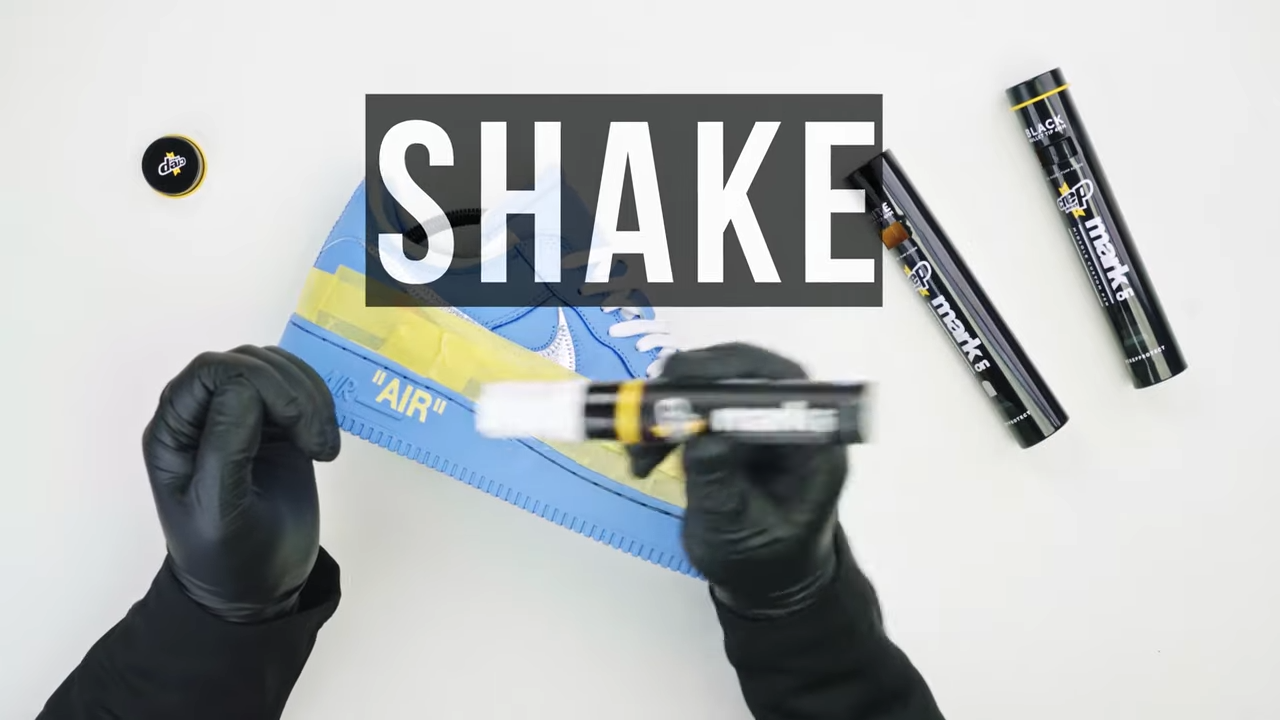
Now that you’re all prepped for painting, shake the Mark On Pen, this will allow all the emulsive ingredients to combine for a greater paint coverage on the midsole.
3. Paint ‘Em
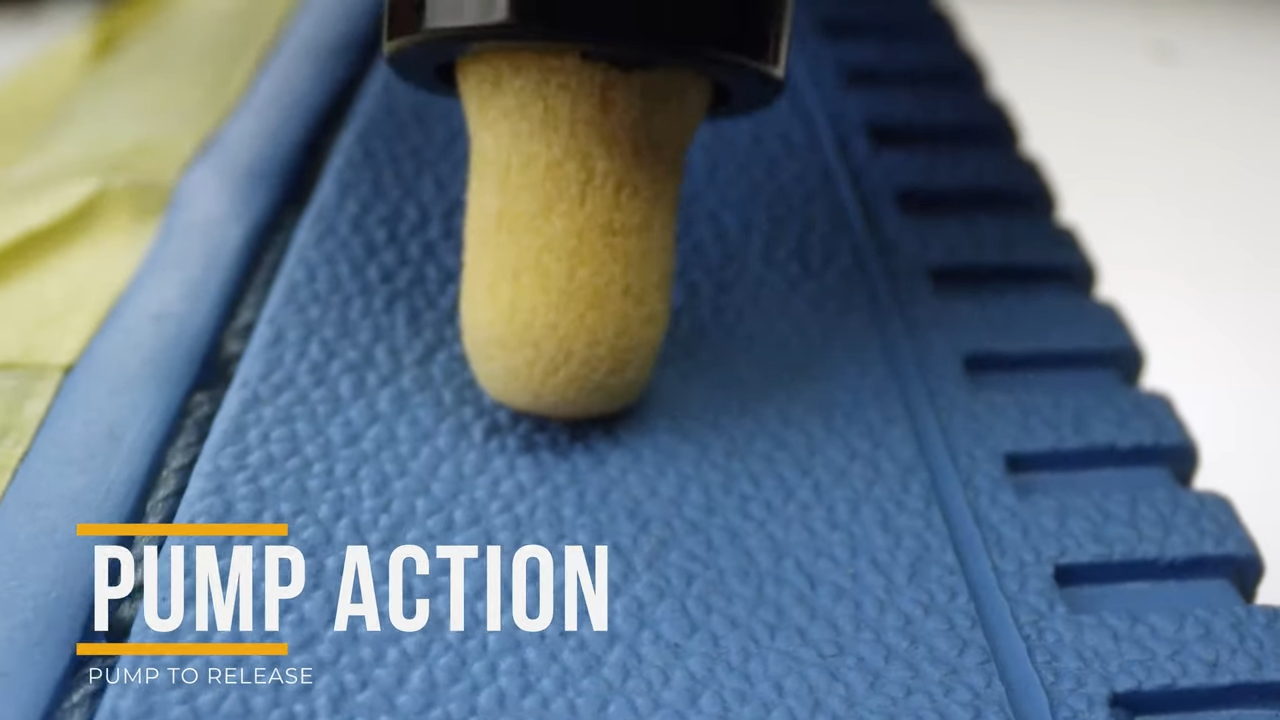
Push down on the sneaker midsole to release the paint. Once released, you can get to work by moving the pen up and down the midsoles until the whole area is covered.
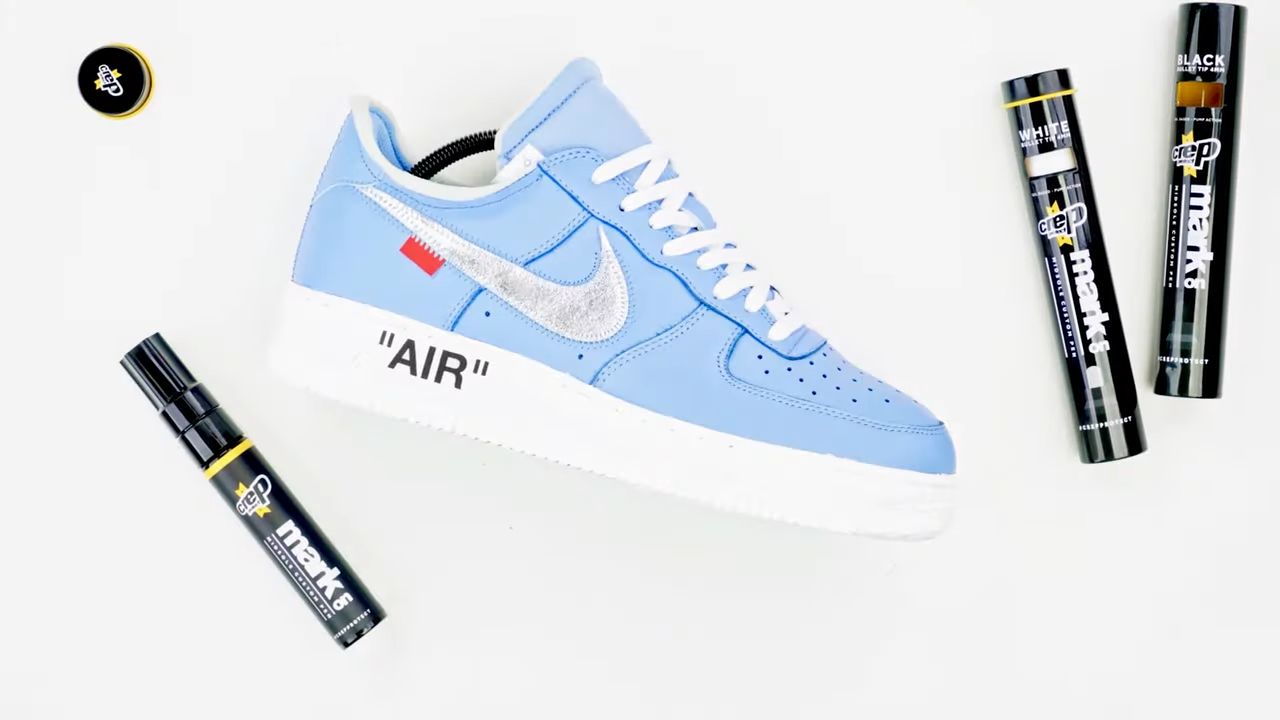
Since we’re using the Off-White x Air Force 1 ‘MCA’ version, we’ve decided to switch up the midsole to the ‘Factory White’ shade and there is also an ‘off-white’ debossed logo, so we’ve covered that up too as we will be customising this later.
4. Dry Time: 15 mins

Once you’ve finished up with the first coat, allow your sneakers to dry for 15 minutes outside or in a well-ventilated room.
5. Give it Another Coat
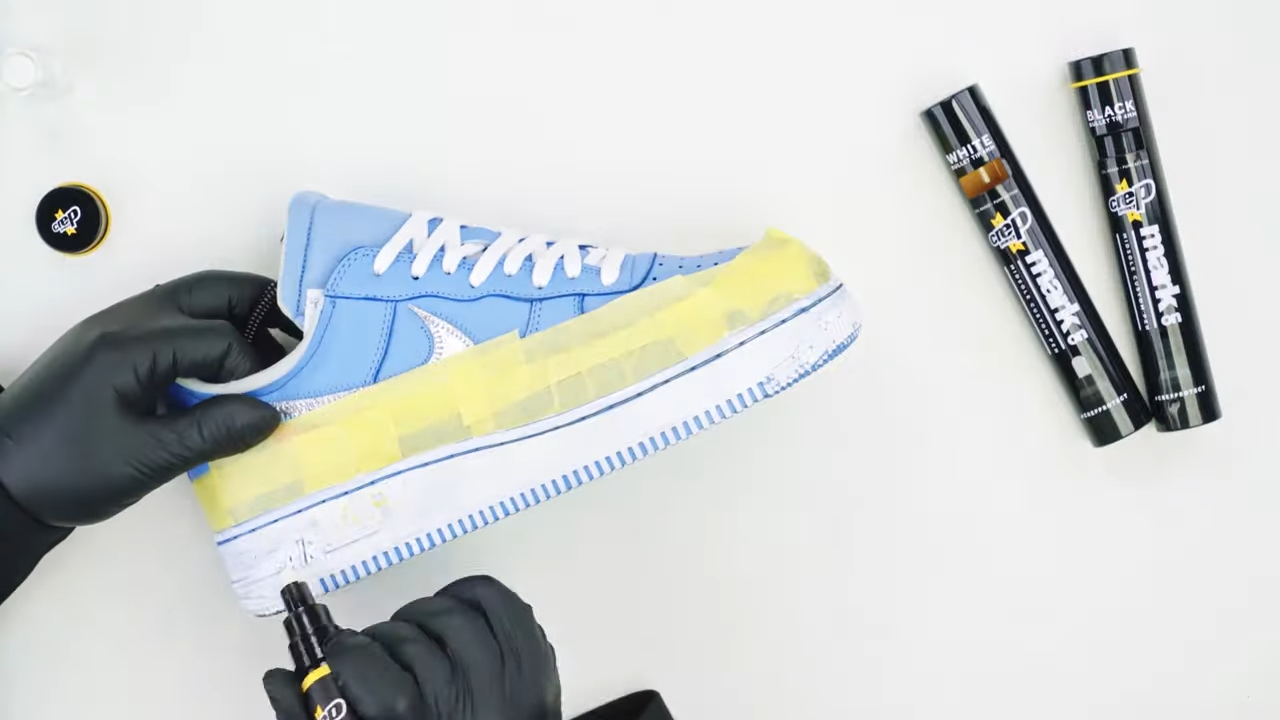
Once the Mark On Pen is fully dry, apply a second layer of paint to the midsoles and allow the sneaker to dry for another 15 minutes. If your sneakers need an extra layer - don’t stress! Repeat steps 3&4 until desired results are achieved.
6. Sculpting & Painting the Air logo
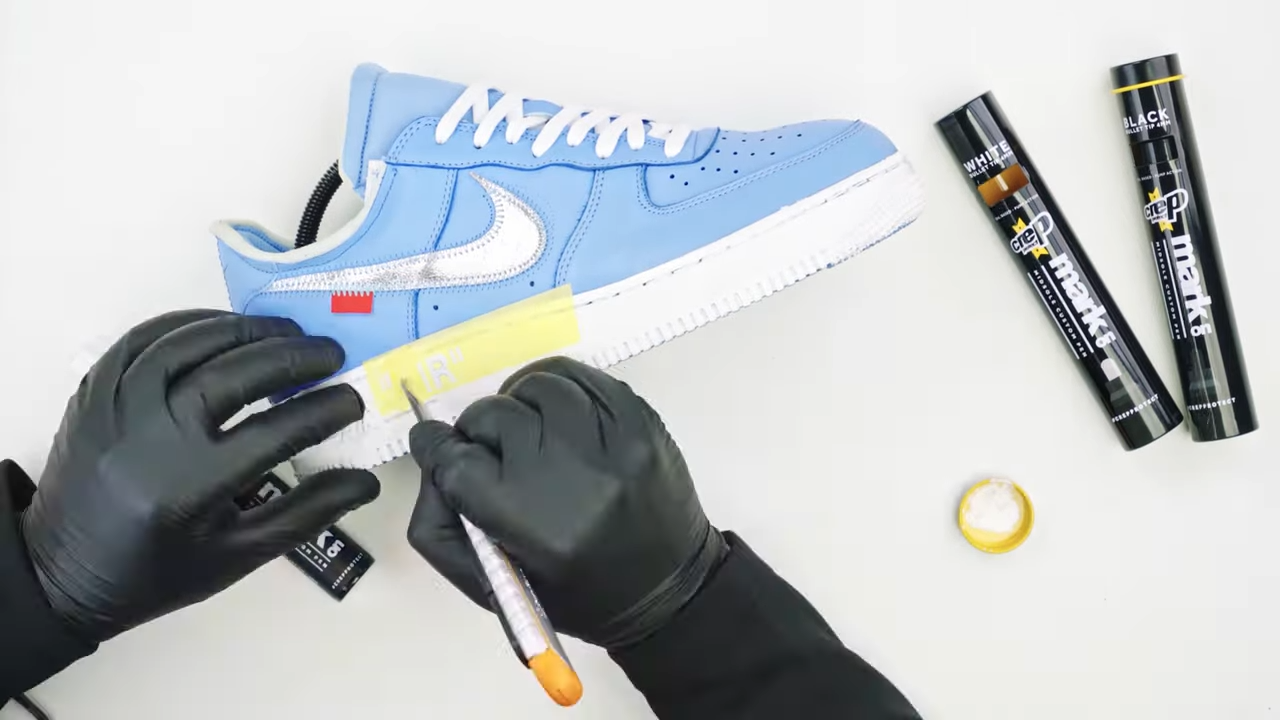
If you have an OG pair of Air Force 1s you can skip this step. However, if you have an off-white version, pay attention as this can be quite fiddly. To paint the debossed Air logo, remove all the masking tape from your sneaker, except for the tape that covers the logo.
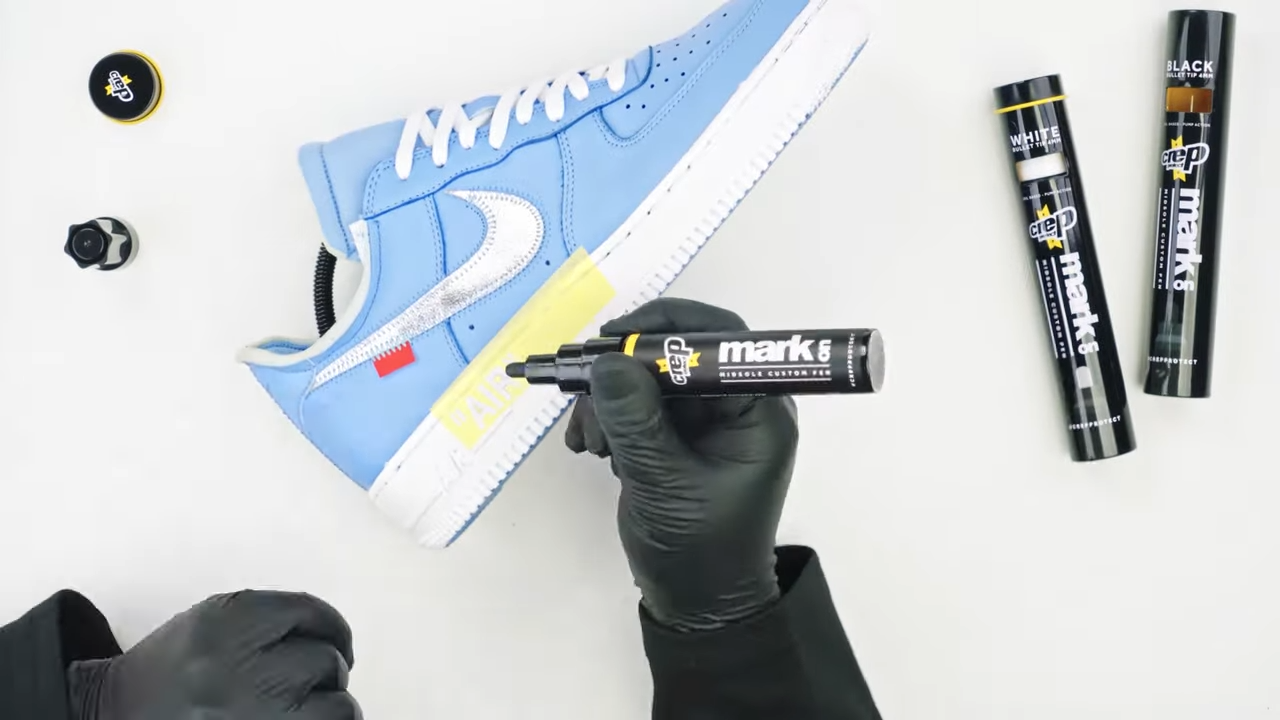
7. Final Results
Next up: The Dos and Don’ts of Using Crep Protect Foam X


